
This article has been updated to reflect the enhancements that will be available after Friday 4 December as part of the December 2026 Release.
Item-based marking is an advanced marking workflow available within FLOWmulti, where assessors can be assigned to mark individual items of a paper instead of the full submission for each student. This opens up the possibility of more flexible marking strategies, such as:
- allowing assessors to mark across submissions (e.g. all of question 1, then all of question 2) rather than the traditional linear approach where complete papers are marked in turn;
- appointing assessors with different specialisms to assess different parts of the paper; and
- using a mixture of auto-scored and manually-assessed questions in a test, such as a mixture of multiple-choice and short answer questions.
There is more information for managers about how to set up item-based marking here.
Assessor
 in the header bar, entering a score for the item and then locking the item score.

Once locked, it is possible to unlock the item as long as the marking has not been submitted.
Feedback can be added via annotations, submission level and cohort level (common) feedback.
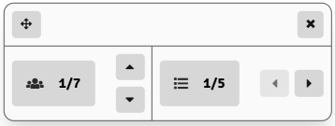
It is also possible to move backwards and forwards to the same item for the next submission using the navigation window at the bottom of the screen.
Registering and Submitting Scores
Once the marking has been completed, it is necessary to submit and register the marks and feedback you have provided. This process differs slightly from that detailed in the reaching a final grading outcome article because, rather than arriving at a final grade for the submission, in the case of item-based marking, the assessor is submitting marks that will be separately aggregated in order to reach a final grade.
Once scores have been locked (see above), they can be submitted one by one and also in bulk.
To submit individually, navigate to the Grading window using the  icon, and click the Submit score button at the bottom of the window.

Alternatively, to submit scores in bulk, exit the marking tool and click on Open the Marking Overview from the assessor's flow landing page. Further details can be found in the Marking Overview article.
Working with Co-Assessors Using Item-based Marking
As with the standard marking workflows, it is also possible to configure assessor groups for collaboration or double-marking of individual items using item-based marking. If marker agreement is enabled, assessors will be required to converge on an agreed mark for the item before it can be submitted. For further information on assessor collaboration please see the article on marker agreement vs. reviewer approval.
Where a conflict is identified, assessors will be made aware of this on the marking overview.

When the mark is not equal to the mark submitted by the co-assessor(s), assessors will see the message below and will need to confer with their co-assessor to reach an agreed mark and submit it again.

Reviewer
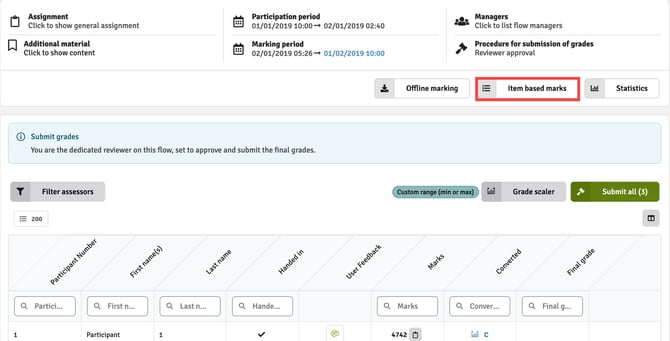
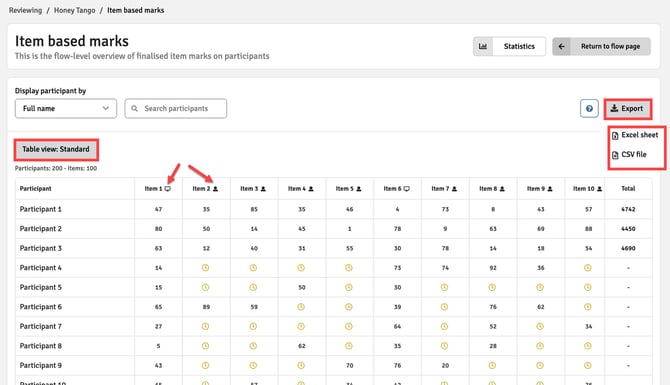
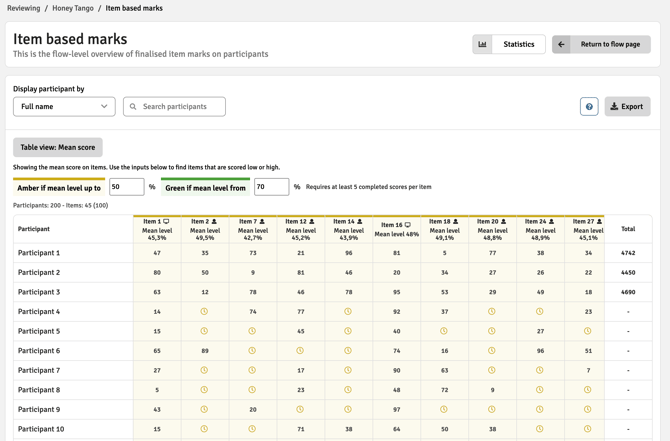
Item Based Marks Score Matrix
Score Spread View
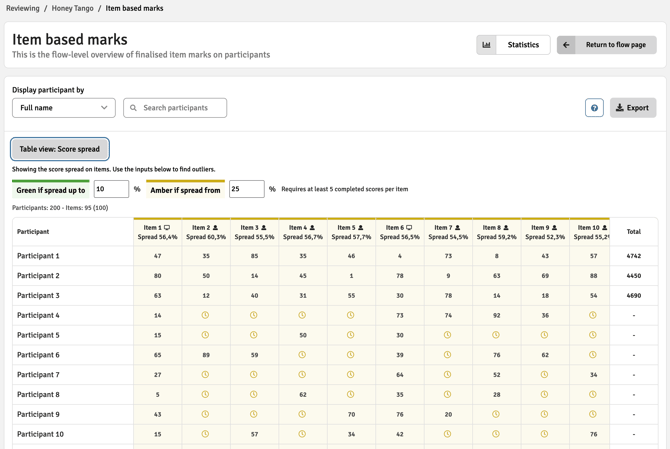
Mean Spread View
Reviewer Approval

- Go the marking tool. Please note that it is not possible to see the auto or manually scored marks in this view.
- Click on the calculated score to view the breakdown of scores for each item.
- Click on the clipboard icon to see the audit trail of scores and who they were submitted by.
- Submit the scores to approve the final grade.